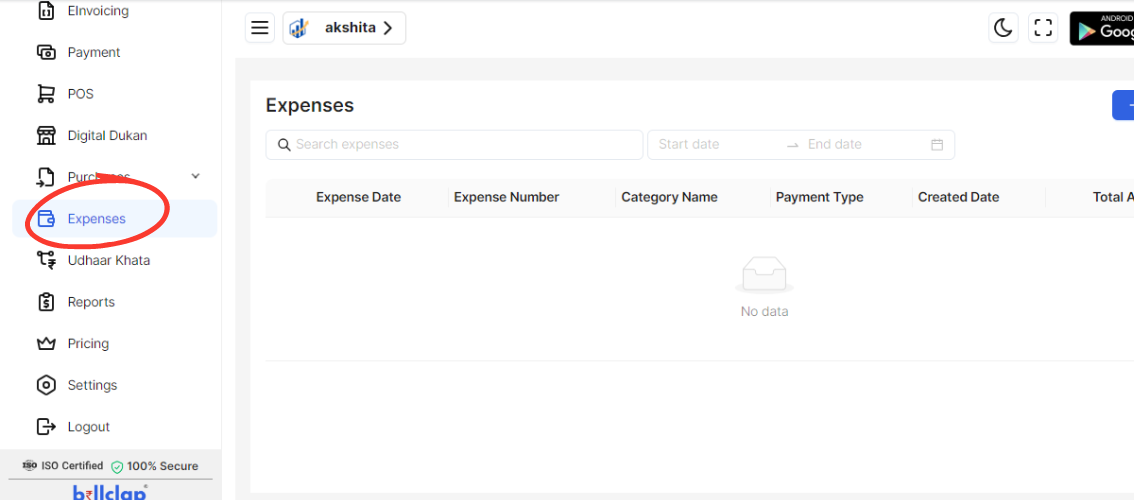
Navigate to the Expenses Section
On the dashboard, locate and click on the “Expense” option. This is typically found in the main navigation menu or dashboard sidebar.
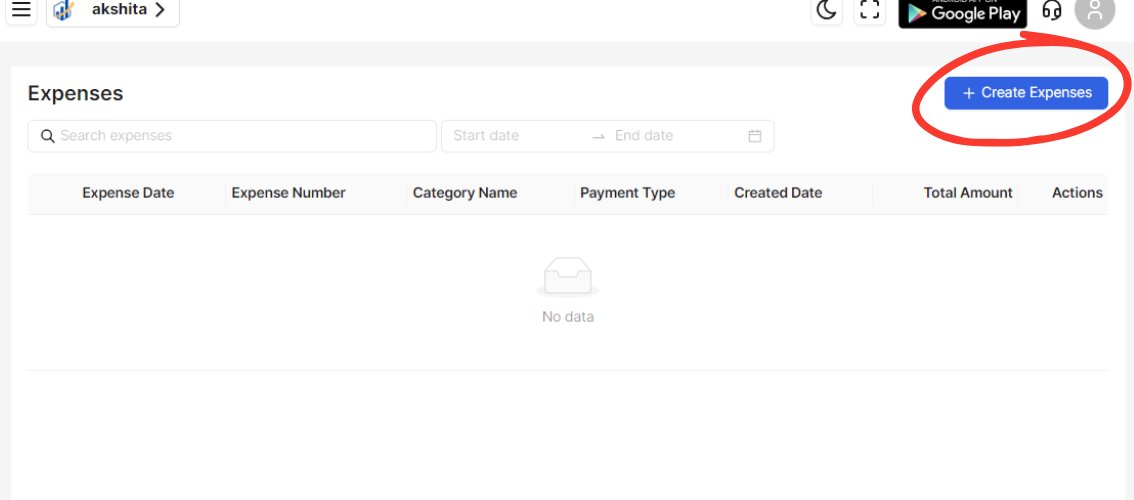
Initiate Expense Creation
In the Expenses section, click on the “Create Expense” button. This will open the form for entering new expense details.
Fill in Expense Details
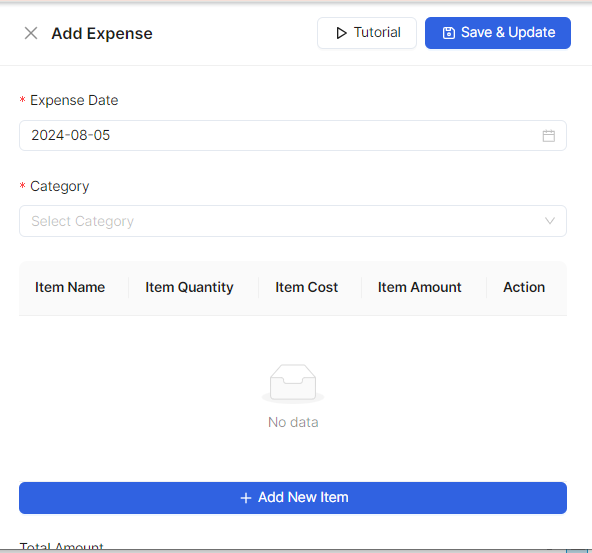
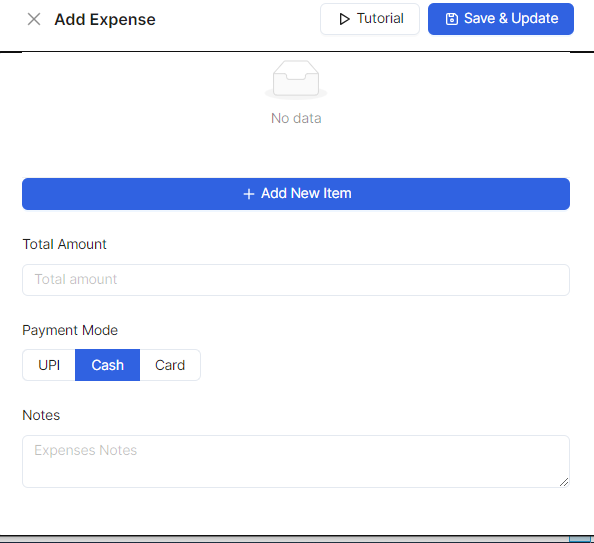
Expense Date: Enter the date of the expense. For example, 2024-08-05.
Category: Select the appropriate category for the expense from the dropdown menu (e.g., Travel, Office Supplies, etc.).
Item Name: Input the name of the item or service associated with the expense.
Item Quantity: Enter the quantity of the item.
Item Cost: Provide the cost per item.
Item Amount: This field will typically auto-calculate based on Item Quantity and Item Cost, but ensure it is correct.
Action: If applicable, specify any actions related to the expense (e.g., a description or special instructions).
Review and Confirm Details
Total Amount: Ensure that the total amount for the expense is correct.
Payment Mode: Select the method of payment from the options available (e.g., UPICashCard).
Notes: Add any additional notes or comments about the expense, if needed.
Save or Submit the Expense
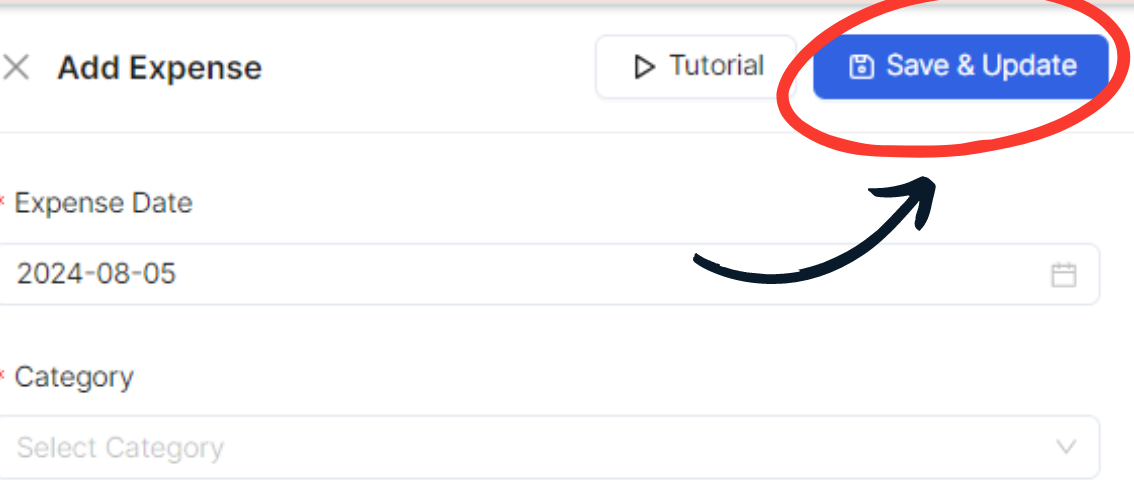
Review all entered details for accuracy.
Click on the “Save” button to record the expense in your system.
