Step-by-Step Tutorial: Activating Loyalty Points in BillClap
For Merchants | Easy & Professional Guide
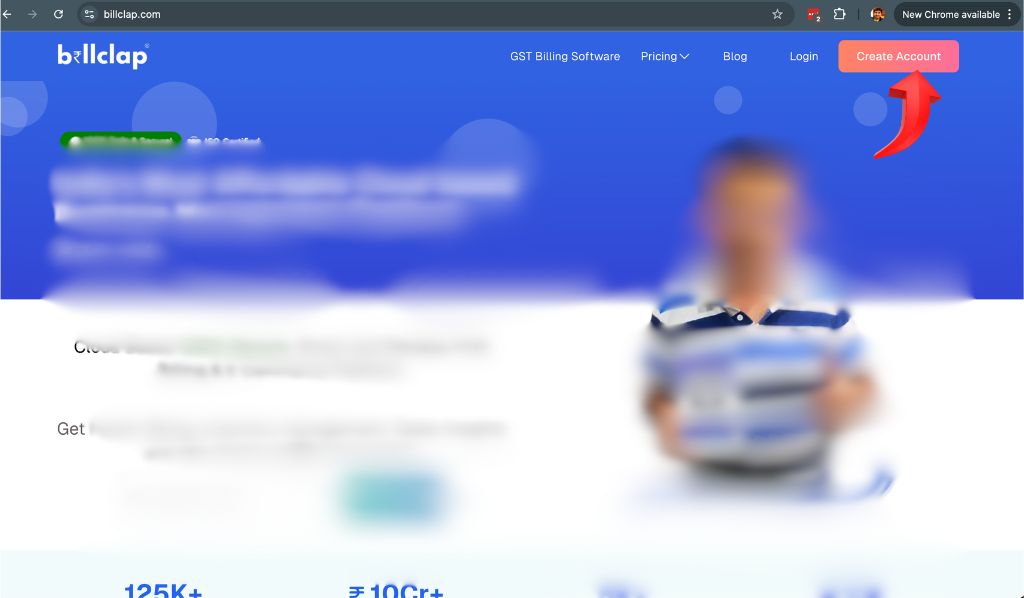
Step 1: Log In to BillClap
Open the BillClap application on your device.
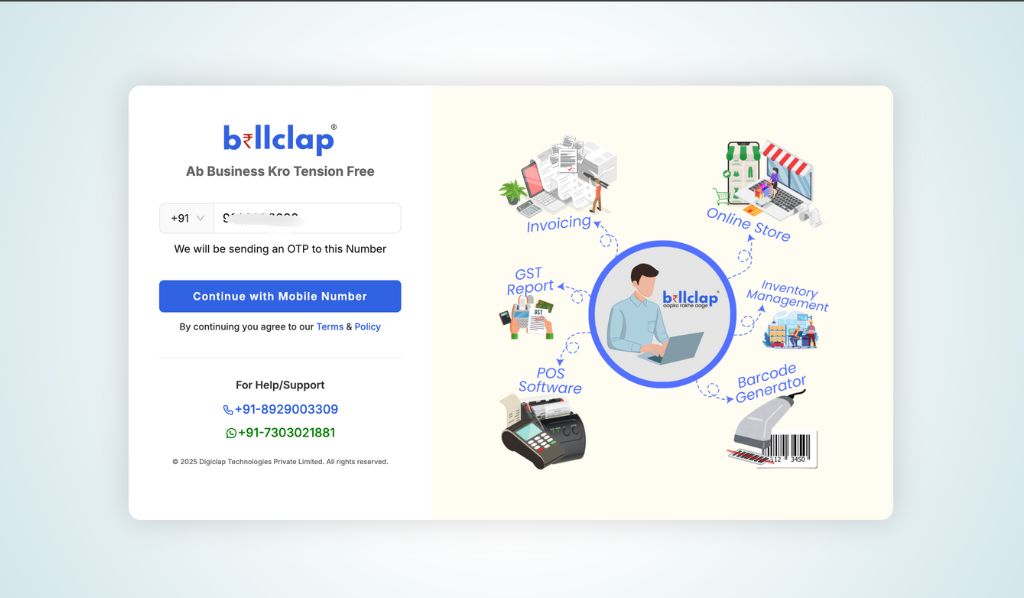
Enter your registered mobile number and click Proceed.
Enter the OTP sent to your mobile number to log in.
Step 2: Navigate to Settings
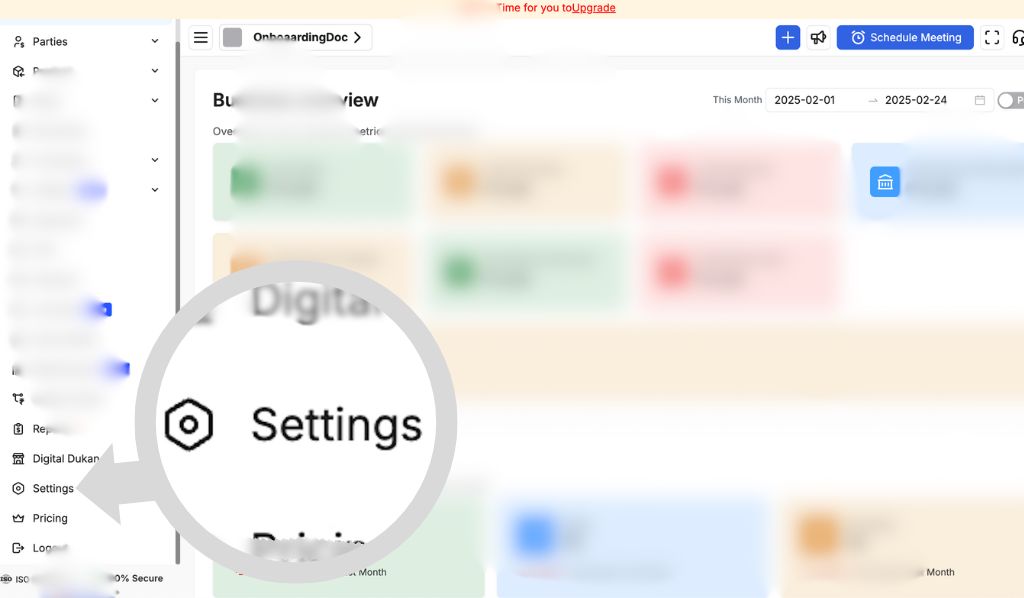
After logging in, locate the left sidebar of the dashboard.
Click on the Settings link (icon or text) to open the Settings menu.
Step 3: Access Loyalty Points
In the Settings menu, scroll to find the Loyalty Points option.
Click on Loyalty Points to open the setup page.
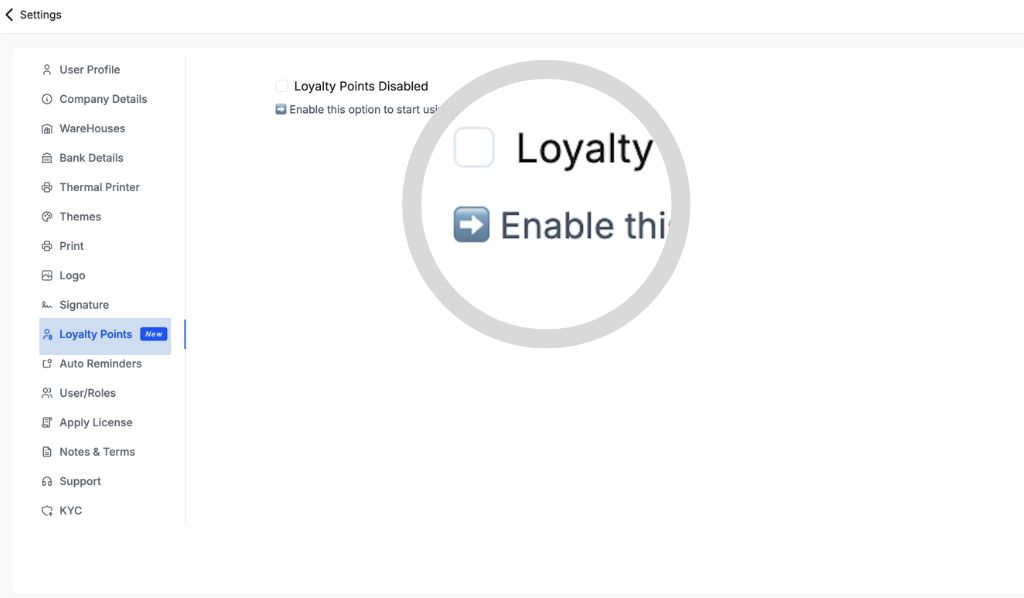
Step 4: Enable Loyalty Points
On the Loyalty Points page, toggle the Loyalty Points Enabled option to activate the feature.
Example: Switch from "Disabled" to "Enabled."
Step 5: Configure Loyalty Points Settings
Fill in the following fields to customize your loyalty program:
1. Custom Name (Optional)
Purpose: Assign a unique name to your loyalty program (e.g., "CASHBACK" or "REWARDS").
Example: Type CASHBACK if you want customers to see this name during transactions.
2. Loyalty Point Conversion
Purpose: Define how much money spent equals 1 loyalty point.
Format: [Amount] = 1 Point
Example:
If you enter 100 = 1 Point, customers earn 1 point for every ₹100 spent.
3. Minimum Value of Invoice for Earning Points
Purpose: Set the minimum invoice amount required to earn points.
Example:
Enter 100 to ensure only invoices above ₹100 qualify for points.
4. Set Point Expiry
Purpose: Define how long earned points remain valid.
Example:
Enter 10 Days if points expire after 10 days.
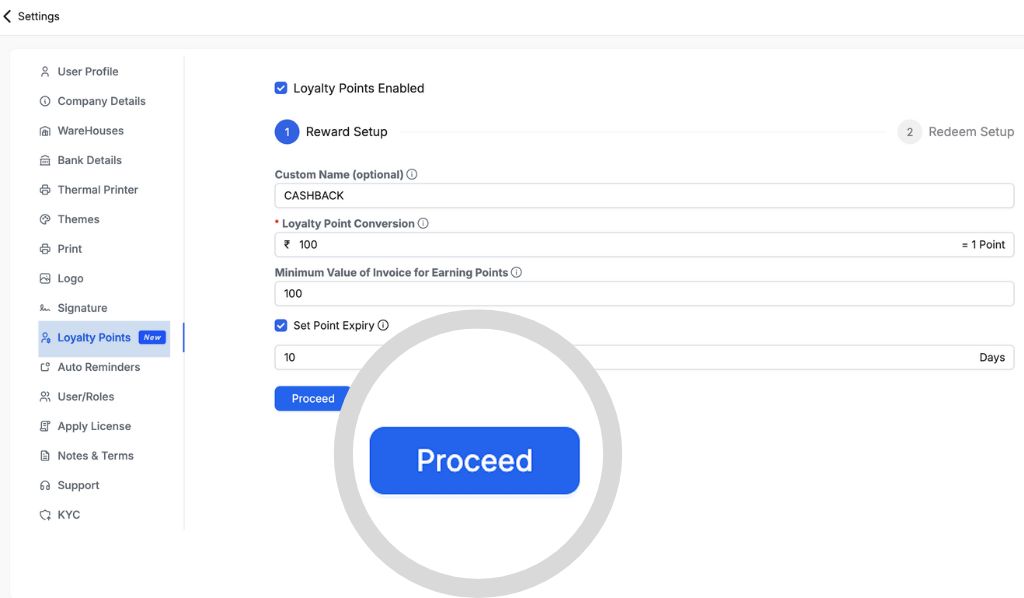
Step 6: Proceed to Redeem Setup
After configuring earning rules, click Proceed.
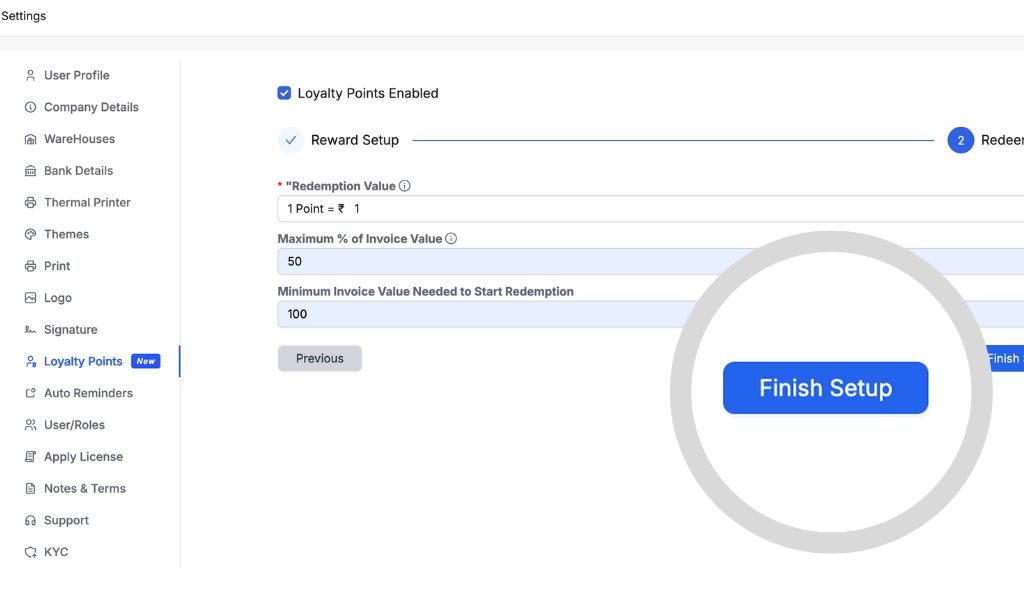
Under Redeem Setup, define how points can be redeemed:
1. Redemption Value
Purpose: Set the value of 1 point in currency.
Example:
1 Point = ₹1: Customers can redeem 1 point for ₹1 off their purchase.
2. Maximum % of Invoice Value
Purpose: Limit the percentage of the invoice value that can be covered by points.
Example:
50%: If the invoice is ₹200, customers can redeem up to ₹100 worth of points.
3. Minimum Invoice Value Needed to Start Redemption
Purpose: Set the minimum invoice amount required to redeem points.
Example:
100: Customers can only redeem points on invoices of ₹100 or more.
Step 7: Save and Test
Ensure all settings are correctly entered.
Click Save or Activate (if prompted) to finalize the setup.
Step 8: Test the Loyalty Program
Create a test invoice (e.g., ₹200 purchase).
Confirm that:
The customer earns 2 points (if conversion is 100 = 1 Point).
Points reflect correctly in their account.
Key Tips for Merchants
- Custom Name: Use a catchy name to make your program memorable (e.g., "Super Saver Points").
- Conversion Rate: Align with profit margins. For high-margin products, use 50 = 1 Point to reward customers faster.
- Expiry Period: Shorter durations (e.g., 15 Days) encourage quicker redemptions.
- Minimum Invoice Value: Avoid setting it too high; ₹100 is standard for small businesses.
- Redemption Rules: Ensure the Maximum % of Invoice Value and Minimum Invoice Value Needed to Start Redemption are balanced to encourage redemptions without hurting profits.
Next: Learn how to give loyalty points/cashback to your customers on billclap
Need Help?
Visit help.billclap.com or contact support for assistance. Support Mobile: 08062862935
By following these steps, you can easily activate and customize a loyalty program to retain customers and boost sales! 🚀