
Extract from Bill: Auto-Fill Purchase Bills Using AI (OCR)
What is Extract from Bill?
Extract from Bill is an AI-powered OCR (Optical Character Recognition) feature in BillClap that reads a photo or PDF of your purchase bill and automatically fills in the purchase bill form for you — vendor details, GSTIN, invoice number, date, and item-wise details including quantity, rate, and GST%. It is up to 95% accurate, so most fields only need a quick review rather than manual retyping.
Where to Find It
This feature is currently available on the BillClap Desktop application, inside the Create Purchase Bill screen. Web and mobile app support are coming soon.
Step-by-Step: How to Use Extract from Bill
Step 1: Open Create Purchase Bill
Log in to your BillClap Desktop app and navigate to Purchase → Create Purchase Bill.
Step 2: Click "Extract from Bill"
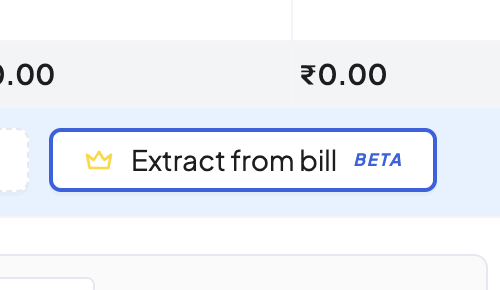
In the item table section, you'll see three options next to "Add New Row" — Add In Bulk, Scan Barcode, and Extract from Bill (BETA). Click on Extract from Bill.
Step 3: Upload Your Bill
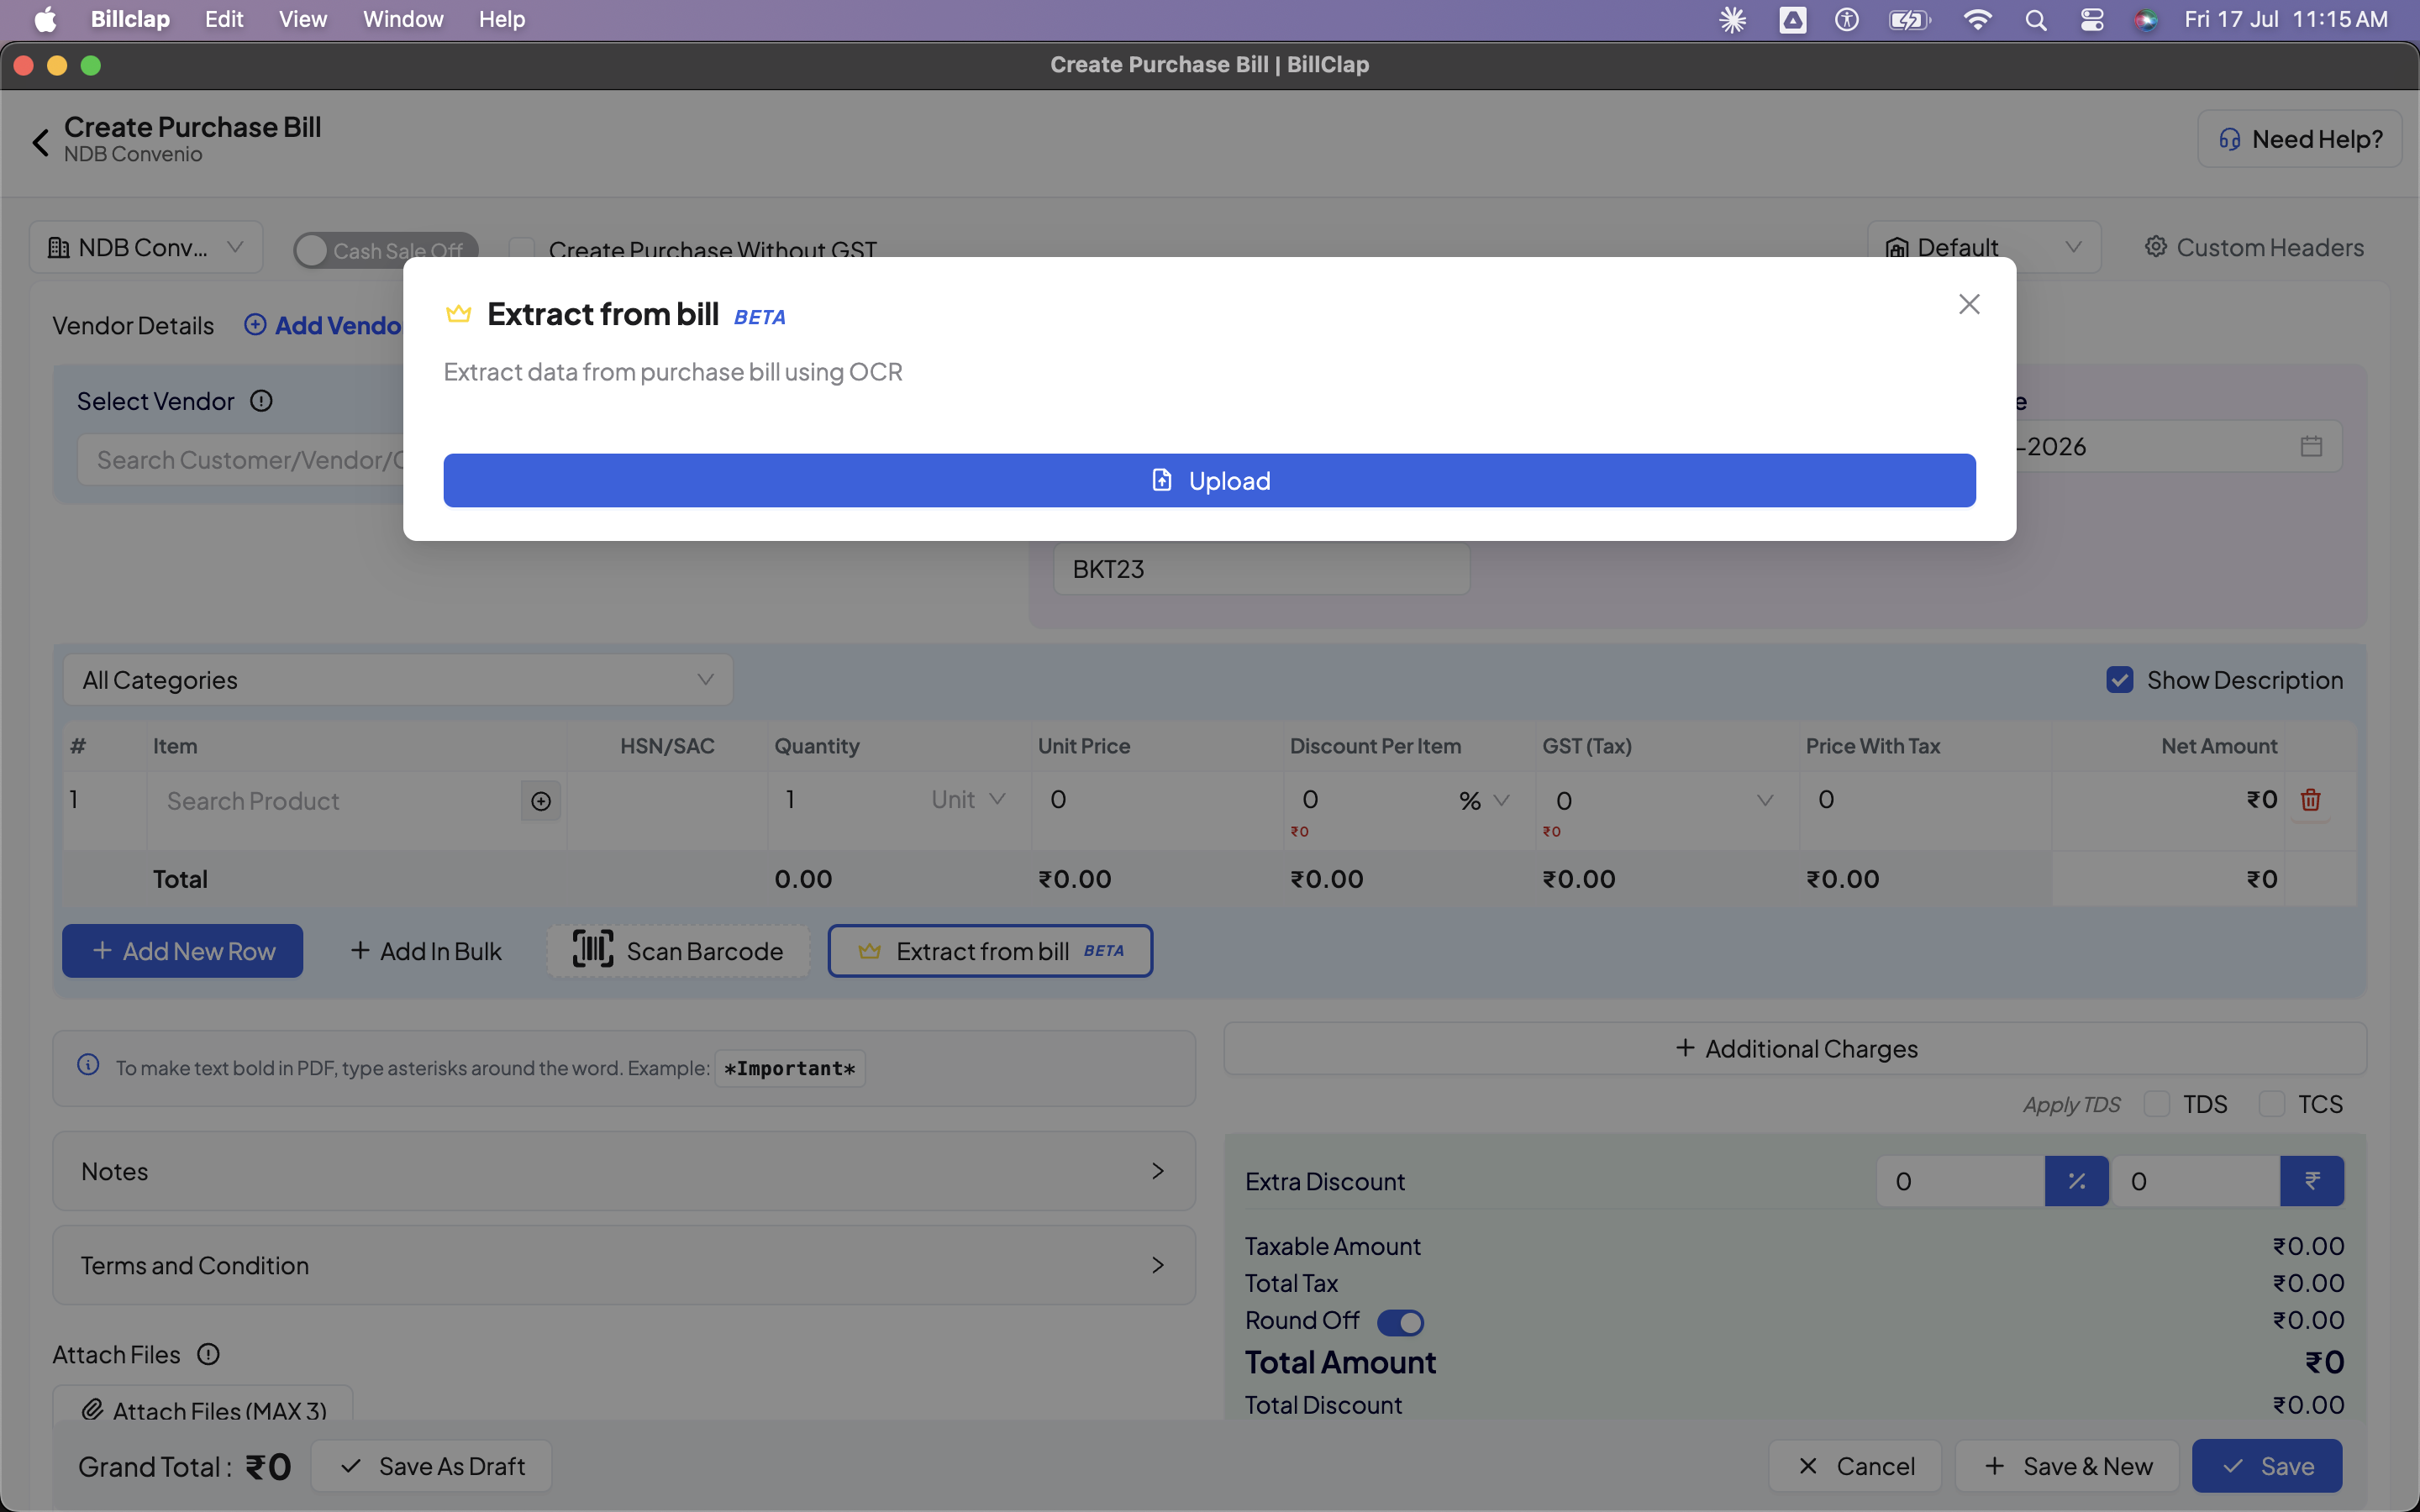
A dialog box will open with an Upload button. Click it and select a clear photo or PDF of your purchase bill from your device.
Step 4: Let the AI Read the Bill
Once uploaded, BillClap's OCR engine will process the bill in two stages:
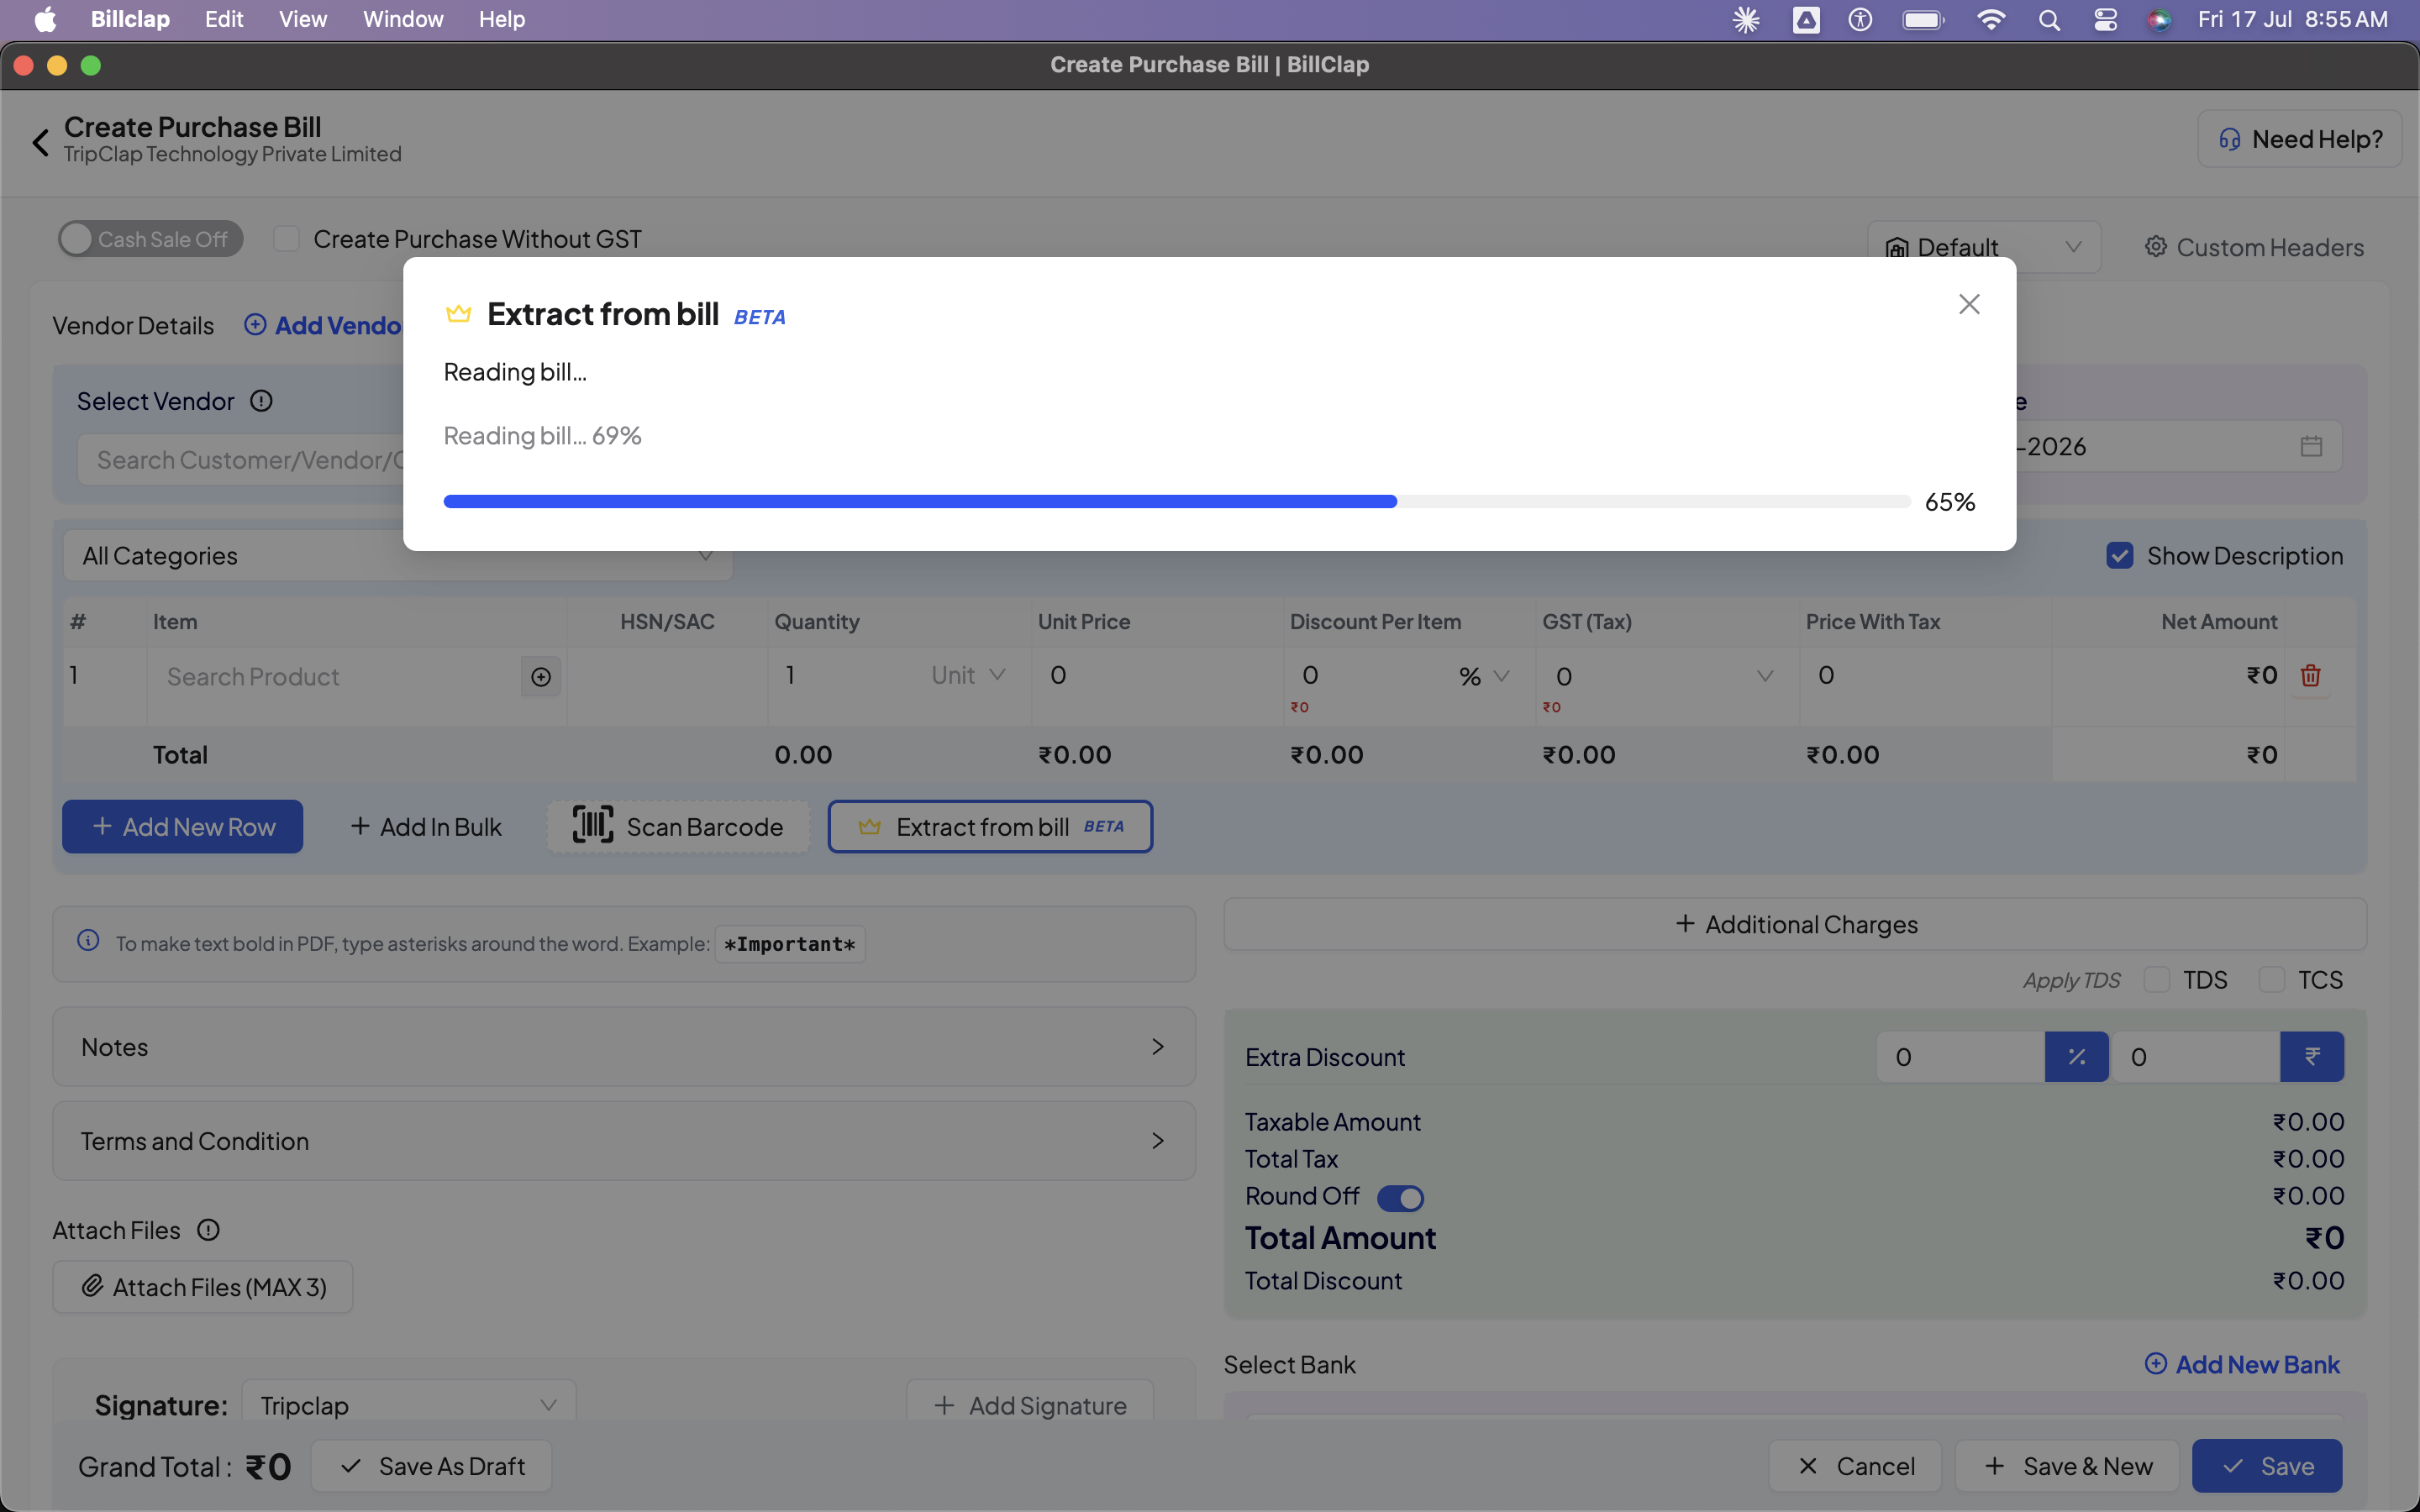
- Reading Bill... — the system scans the document text
- Understanding Items... — the system identifies and structures individual line items
This usually takes just a few seconds, shown with a live progress bar.
Step 5: Review the Extracted Details
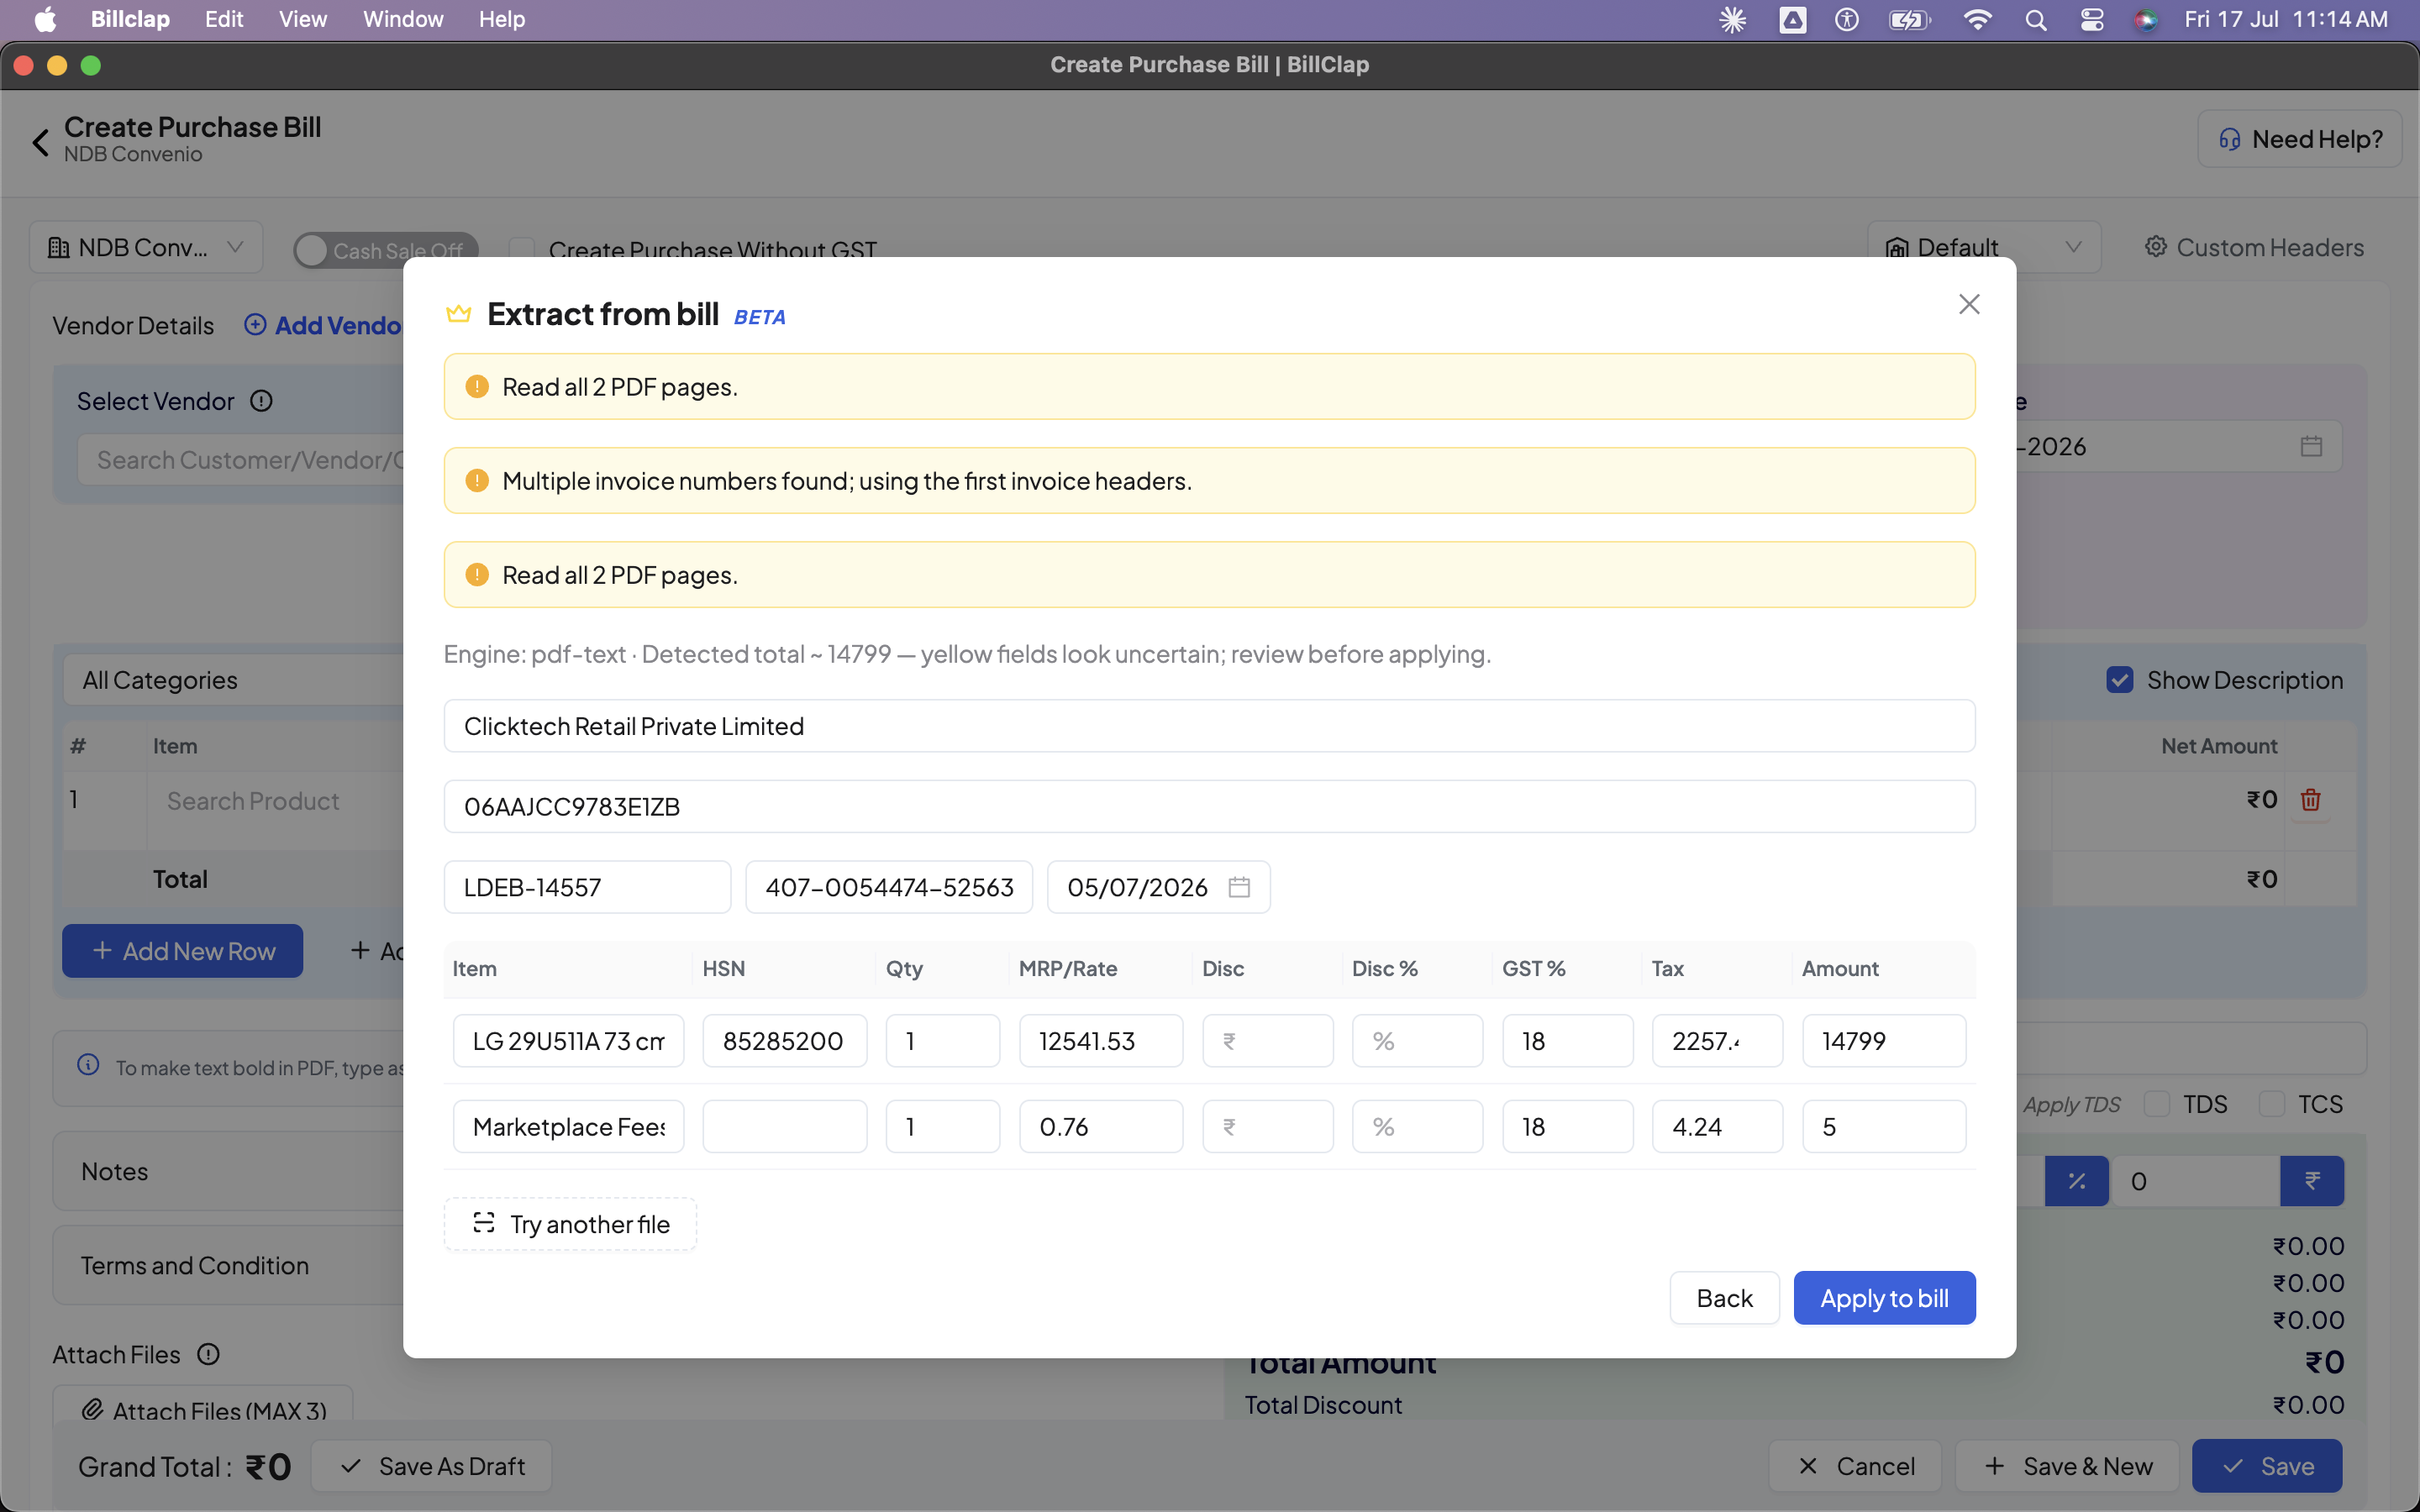
Once processing is complete, you'll see all extracted fields pre-filled:
- Vendor/business name
- GSTIN
- Invoice number and date
- Item name, HSN code, quantity, MRP/rate
- Discount, GST%, tax, and amount per item
Any field the system is not fully confident about will be highlighted in yellow — for example, if the GSTIN could not be validated after OCR normalization, or if a business name looks uncertain. Always double-check highlighted fields before proceeding.
Step 6: Edit if Needed
You can directly edit any field in the preview — item name, HSN, quantity, rate, discount, or GST% — before applying it to your bill. The AI does the heavy lifting, but you always have final control.
Step 7: Apply to Bill
Once everything looks correct, click Apply to Bill. All extracted details will be filled into your Create Purchase Bill form automatically. Review the total, add any bank details, notes, or terms, and click Save to record your purchase bill.
Tips for Best Results
- Use clear, well-lit photos or high-quality PDF scans for best accuracy.
- Printed bills generally extract more accurately than handwritten bills.
- Always review yellow-highlighted fields before clicking Apply to Bill.
- If a file doesn't extract well, use the Try another file option to re-upload.
Why Use Extract from Bill?
- Saves time — no more manually typing every line item from a purchase bill.
- Reduces errors — data comes directly from the bill instead of manual entry.
- Better purchase tracking — makes it easy to record every purchase bill, leading to accurate expense analysis and profit margin calculation.
- Easier GST compliance — accurate GSTIN and tax capture supports smoother input tax credit (ITC) claims.
Frequently Asked Questions
Is Extract from Bill free?
It is available with BillClap's paid plans. Check billclap.com/pricing for plan details.
Can I use it on mobile?
Not yet — it is currently available only on BillClap Desktop. Mobile and web support are planned.
What if the extracted data is wrong?
You can edit any field manually before clicking Apply to Bill — nothing is saved until you confirm.
Related Articles: Purchase Bill Likhna Band Karo — Ab BillClap Khud Padh Lega (blog)